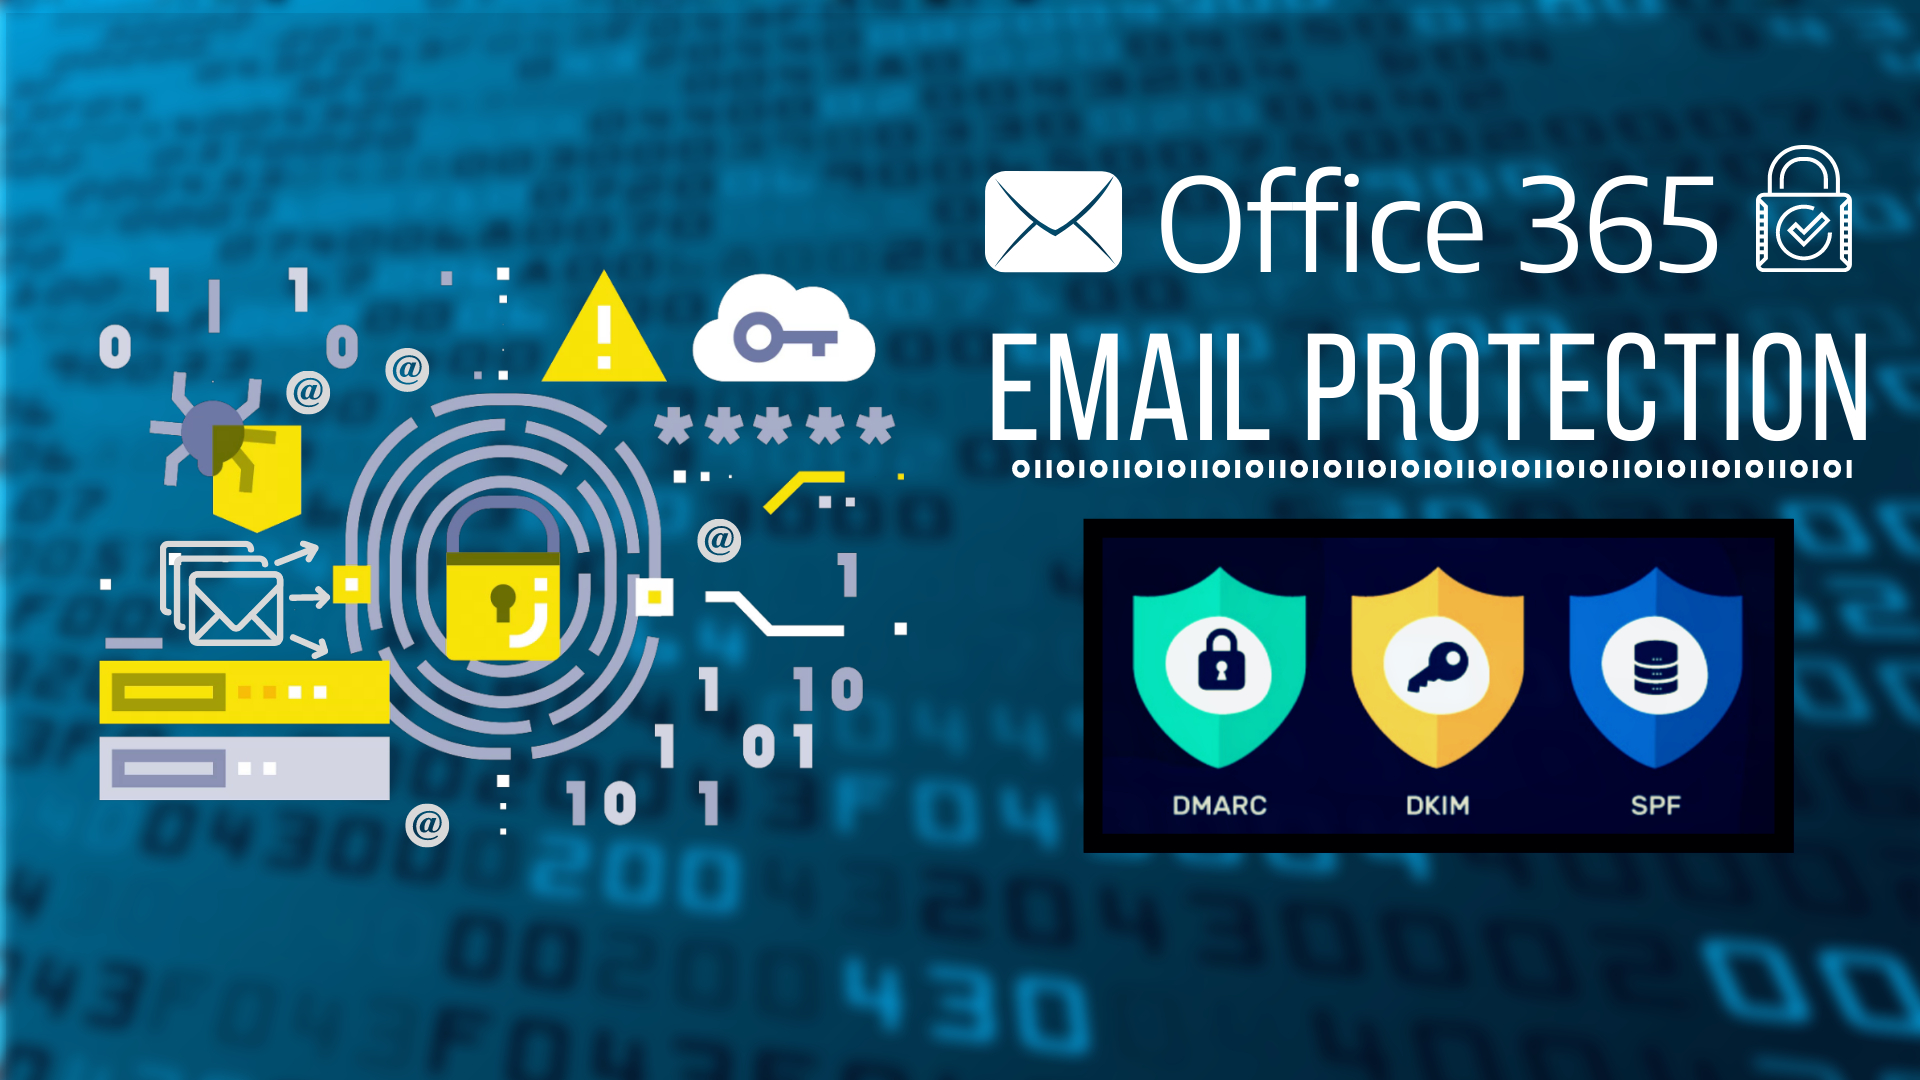
In this post, we will be discussing how to protect your mail flow using Office 365 SPF DKIM and DMARC. These are mainly authentication protocols and mechanisms relying mainly on DNS to protect your mail from phishing and spoofing.
There are several technologies that can help your organization validate that an email has been sent from an authorized source. Office 365 expanded its support for some of these technologies earlier this year however it seems like these features get very little talk.
You’ve likely heard of SPF but what about DKIM and DMARC? Should you be implementing these?
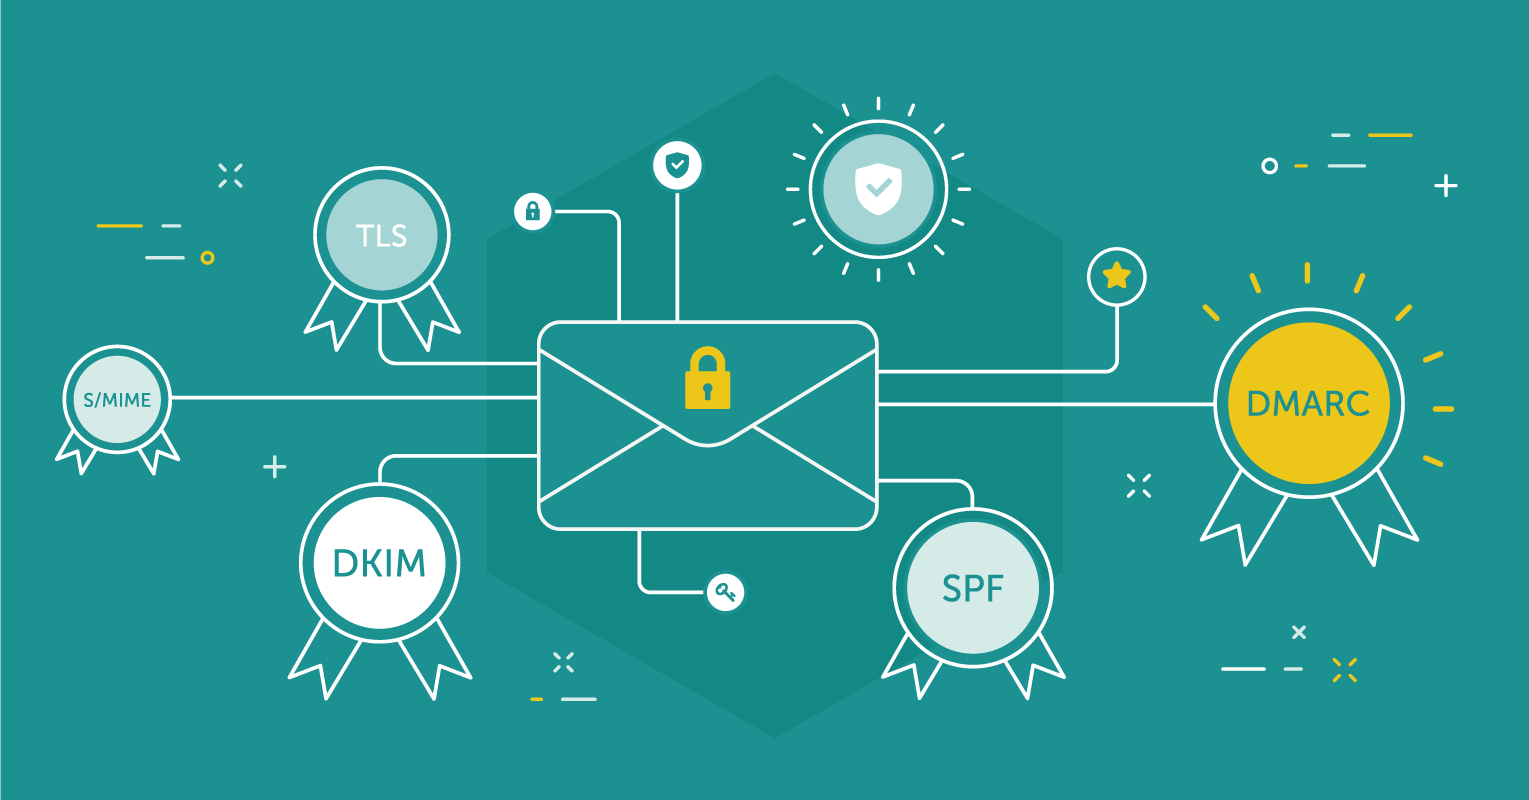
Let see how they provide different types of protection and how they can work together.
SPF (Sender Policy Framework)
SPF is pretty well known and commonly implemented. If you’re not familiar with SPF, it’s essentially a DNS record (TXT) that contains a list of approved senders by IP address, domain name or some other mechanism.
With Exchange Online, Microsoft provides you the information to properly configure your SPF record. However, if you have third-party services sending on your behalf, you may need to customize the provided value. There are some limitations on the number of DNS queries you can have in your SPF record and it’s not uncommon to see syntax errors so you should always validate your SPF record with one of the online validation tools.
If a message is received from a source not authorized in the SPF record, you as the receiving party can do what you choose with that information. You may decide to block the message, you might rank it higher as prospective spam or you could ignore it.
What Does It Protect?
SPF looks as the “Mail From” field within an email and compares the sending IP address to the published TXT record for that domain. Important to understand here is that the “Mail From” field can contain a different value than the “From” or “Reply To” fields. This is how some phishing emails can enter your organization as they will have a valid SPF published for the “Mail From” and then present the user with a different email in the “From” field.
DKIM (DomainKeys Identified Mail)
DKIM uses a public/private key to sign messages as opposed to the published TXT record. One advantage of DKIM over SPF is there is no limit to the number of partners you can authorize to send on your behalf (assuming they support DKIM). If you use a number of third-party senders, you likely have run into issues of when trying to include them in your SPF. Another way to address the SPF limitation is to have senders send their messages under a subdomain and publish a separate SPF for that subdomain.
What Does It Protect?
DKIM is also looking at the “Mail From” field and will show a “None”, “Pass” or “Fail” once the message has been evaluated. The same potential phishing issue exists with DKIM where the “Mail From” does not necessarily match the “From” field that the user sees.
DMARC (Domain-based Message Authentication, Reporting & Conformance)
For DMARC, a DNS TXT record is created (_dmarc.company.com) and for mail systems that use DMARC, they will send success/failure reports to the addresses specified in the TXT record. A third-party tool or service can be used to aggregate these reports and analyze them.
DMARC, among other things, can be the answer to the above phishing issue. DMARC looks for a passed SPF or DKIM but also looks for “alignment” of the “Mail From” and “From” fields. Additionally, your configuration of DMARC allows you to tell recipient mail servers what to do with a message if DMARC fails.
Using DMARC To Your Benefit
While it’s great that using DMARC has given recipients more information on whether you actually sent the email that shows your domain as a source, it would be nice to have it help us too. Even if our action type is set to “none”, we can configure a Transport Rule for emails that have our domain as a source and fail DMARC. This is how we can help prevent phishing attempts sent to our employees using our own SMTP domains. Terry Zink at Microsoft has this configuration and a few other notes regarding DMARC documented in the blog post “Using DMARC in Office 365“.
Keep in mind that this will be dependent upon your MX records pointing to EOP as opposed to any on-premises infrastructure. You will want to test out this configuration and possibly use “incident reports” to monitor what items the Transport Rule catches before setting it to drop messages; you’ll find that some items like NDRs and out-of-office replies may get caught.
Summary
Office 365 supports functionality beyond SPF to help others validate the messages sent using your domain. Utilizing features like DKIM and DMARC in addition to SPF can improve your email reputation and help assist with internal phishing attempts.
How to Configure it?
SPF
The SPF record is created as a DNS “TXT” record within the root of your DNS zone. If you’re using Exchange Online, Microsoft provides a starting point of the value for your SPF but it will likely need to be customized.
The default value listed in your tenant will be:
v=spf1 include:spf.protection.outlook.com -all
This value will work if you’re only sending messages out of Exchange Online and have no on-premises infrastructure relaying messages. If you have other systems sending mail, you’ll want to make sure that you include these sources in your SPF record.
Common issues I see with SPF records are organizations that try to add more than one TXT record, add too many (>10) DNS queries within their SPF record or just have an improper syntax. There are several sites that can validate your SPF record including MxToolbox.
DKIM
Configuring DKIM signing in Exchange Online is relatively simple. You essentially need to create two DNS records and run three PowerShell commands for each of your SMTP domains.
First, we need to determine the appropriate values for the DNS records. In the tenant, run the following command for each of your SMTP domains:
New-DkimSigningConfig -DomainName company.com -Enabled $False
Then run the following to get the values:
Get-DkimSigningConfig company.com | FL Domain, *CNAME
Now it’s time to create the two DNS records. You’ll create the following two CNAMEs using the output from the above command:
Host: selector1._domainkey
Points To: selector1-company-com._domainkey.company.onmicrosoft.com
Host: selector2._domainkey
Points To: selector2-company-com._domainkey.company.onmicrosoft.com
Once the DNS records have propagated, return to PowerShell and run:
Set-DkimSigningConfig company.com -Enabled $True
Will soon start to see that your messages now show as DKIM signed in the message headers.
DMARC
Once you have SPF and DKIM properly configured, you may choose to start using DMARC. Configuration of DMARC involves the creation of a DNS TXT record to advise recipients of what to do with DMARC failures and where to send the DMARC reports.
You’ll likely want to start with an action of “none” meaning that you just want to monitor emails not but take any action. Even if you can’t get to the point where you configure an action of “quarantine” or “reject”, you can still use DMARC to help mitigate phishing attempts.